Installing PHP, MySQL, phpmyadmin nginx on Ubuntu Server (part 1)
First step, of course you should install a fresh ubuntu server on your server (both virtual or physical), and then install nginx by typing this command
sudo apt-get install nginx
Ok, once you have finished install nginx, then install PHP, we don’t use standard PHP anymore, but we move on to use PHP-FPM, install it by using this command
sudo apt-get install php5-fpm
Good! You’ve just installed it correctly. After that, you should configure your PHP-FPM configuration by following these steps:
- open
/etc/php5/fpm/php.ini - Find
cgi.fix_pathinfo=1and change the value from 1 to 0 - open
/etc/php5/fpm/pool.d/www.conf - find
listen = 127.0.0.1:9000and change its value to/var/run/php5-fpm.sock - uncomment
listen.owner = www-dataandlisten.group = www-data - restart php-fpm:
sudo /etc/init.d/php5-fpm restart
Let’s move back to nginx again, and we have to update its configuration.
open /etc/nginx/sites-available/default and change the content to following lines
server {
    listen   80;
    root /usr/share/nginx/www;
    index index.php index.html index.htm;

    #change line below with your domain or type localhost
    server_name localhost your-domain.com

    location / {
        try_files $uri $uri/ /index.html;
    }

    error_page 404 /404.html;

    error_page 500 502 503 504 /50x.html;
    location = /50x.html {
        root /usr/share/nginx/www;
    }

    # pass the PHP scripts to FastCGI server listening on the php-fpm socket
    location ~ \.php$ {
        try_files $uri =404;
        fastcgi_pass unix:/var/run/php5-fpm.sock;
        fastcgi_index index.php;
        fastcgi_param SCRIPT_FILENAME $document_root$fastcgi_script_name;
        include fastcgi_params;
    }
}
Create a file called index.php in /usr/share/nginx/www with this following code
<?php
    phpinfo();
?>
Restart your nginx with this command sudo /etc/init.d/nginx restart
Try your installation in your browser http://your-ip-or-your-domain/
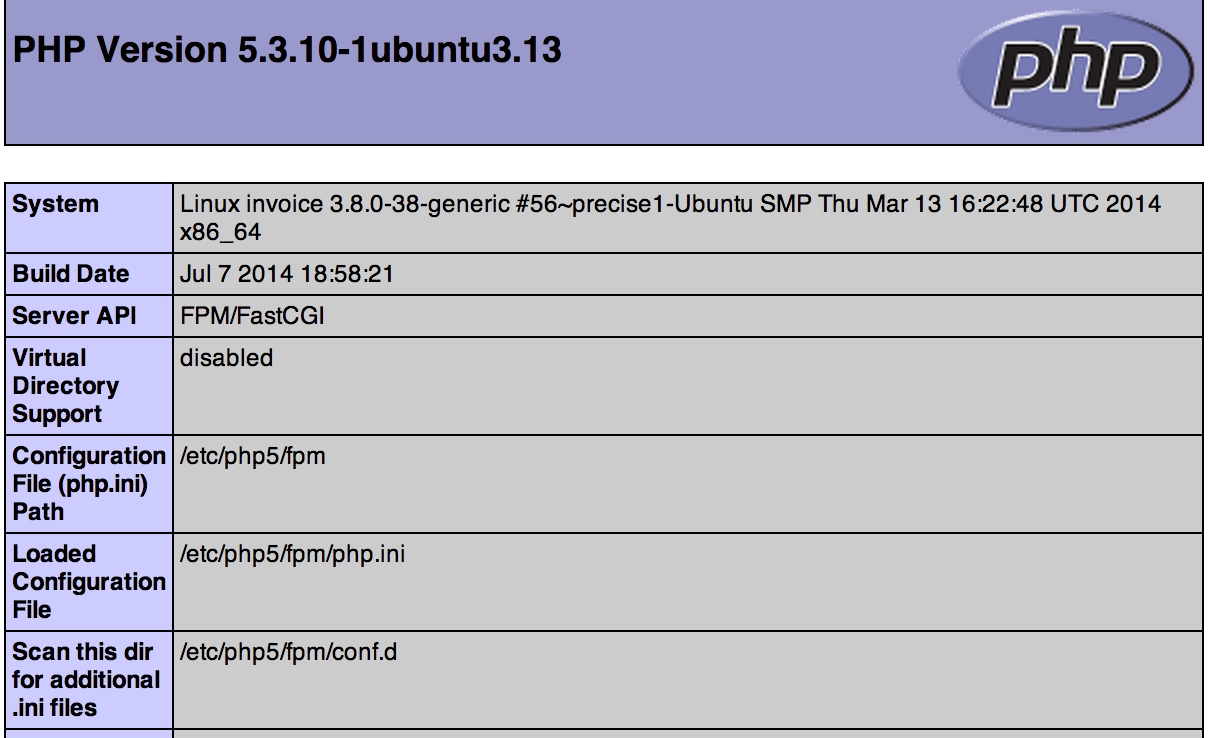
If you did your installation correctly, you will see this page